Advanced Tips for Baking Disney Chocolate Chip Cookies
When baking Disney chocolate chip cookies, mastering the finer details can make all the difference between an average cookie and one that tastes like magic. These advanced tips will help you refine your technique, ensuring every batch is flawless, flavorful, and evenly baked.
Mastering Dough Consistency
Adjusting for Humidity Levels
Humidity can significantly affect the consistency of cookie dough. In high-humidity environments, flour and sugar tend to absorb moisture from the air, making the dough stickier and harder to handle. To counteract this, consider adding 10–20 grams of additional flour to the recipe to balance the moisture content.
Conversely, in dry or arid climates, the dough may become crumbly due to lack of moisture. In such cases, add a teaspoon of water or milk at a time until the dough achieves the desired pliability. Monitoring environmental conditions and tweaking the recipe accordingly ensures the dough stays manageable and produces cookies with the intended texture.
H4: How to Tell if Dough is Perfectly Mixed
Knowing when the dough is properly mixed is key to achieving consistent results. Overmixing can result in tough cookies due to overdeveloped gluten, while undermixing may leave streaks of butter or sugar that affect the bake. The dough should be uniform in color and texture, with no visible pockets of dry ingredients. A key indicator is when the dough pulls away cleanly from the sides of the mixing bowl. Additionally, after adding the chocolate chips, fold them in gently to avoid overworking the mixture, ensuring that every cookie has a balanced distribution of chocolatey goodness.
Secrets to Evenly Baked Cookies
H4: Rotating Baking Trays Midway
One of the simplest ways to ensure even baking is to rotate your baking trays halfway through the bake time. Most ovens have hot spots, which can cause cookies on one side of the tray to brown faster than those on the other. By turning the tray 180 degrees and switching its position (if baking on multiple racks), you allow each cookie to bake uniformly. This technique is particularly useful for achieving the perfect balance of golden edges and soft, chewy centers, as it prevents over- or under-baking in certain areas.
Also Discover: Easy Banana Bread Recipe No Butter For Beginners
H4: Using Silicone Mats vs. Parchment Paper
Both silicone baking mats and parchment paper have their merits, but choosing the right one can influence the final texture of your cookies. Silicone mats provide a slightly insulated surface that prevents cookies from spreading too much, resulting in thicker, softer cookies.
They’re reusable and ideal for bakers seeking consistent results. Parchment paper, on the other hand, encourages a bit more spreading and provides a crispier bottom. Depending on your texture preference, alternating between these two tools can give you greater control over your baking outcomes. Additionally, both options make cleanup easier and reduce the risk of cookies sticking to the tray.
Enhancing Flavor Profiles
H4: Incorporating Espresso Powder for Depth
A small amount of espresso powder—typically 1–2 grams—can elevate the flavor of chocolate chip cookies without making them taste like coffee. Espresso powder enhances the natural richness of chocolate, creating a more complex and decadent flavor profile. It works particularly well in Disney-inspired cookies, as it complements the sweetness of the chocolate and the caramel undertones of brown sugar. Mix the espresso powder with the dry ingredients to ensure it is evenly distributed throughout the dough.
H4: Adding a Pinch of Sea Salt for Balance
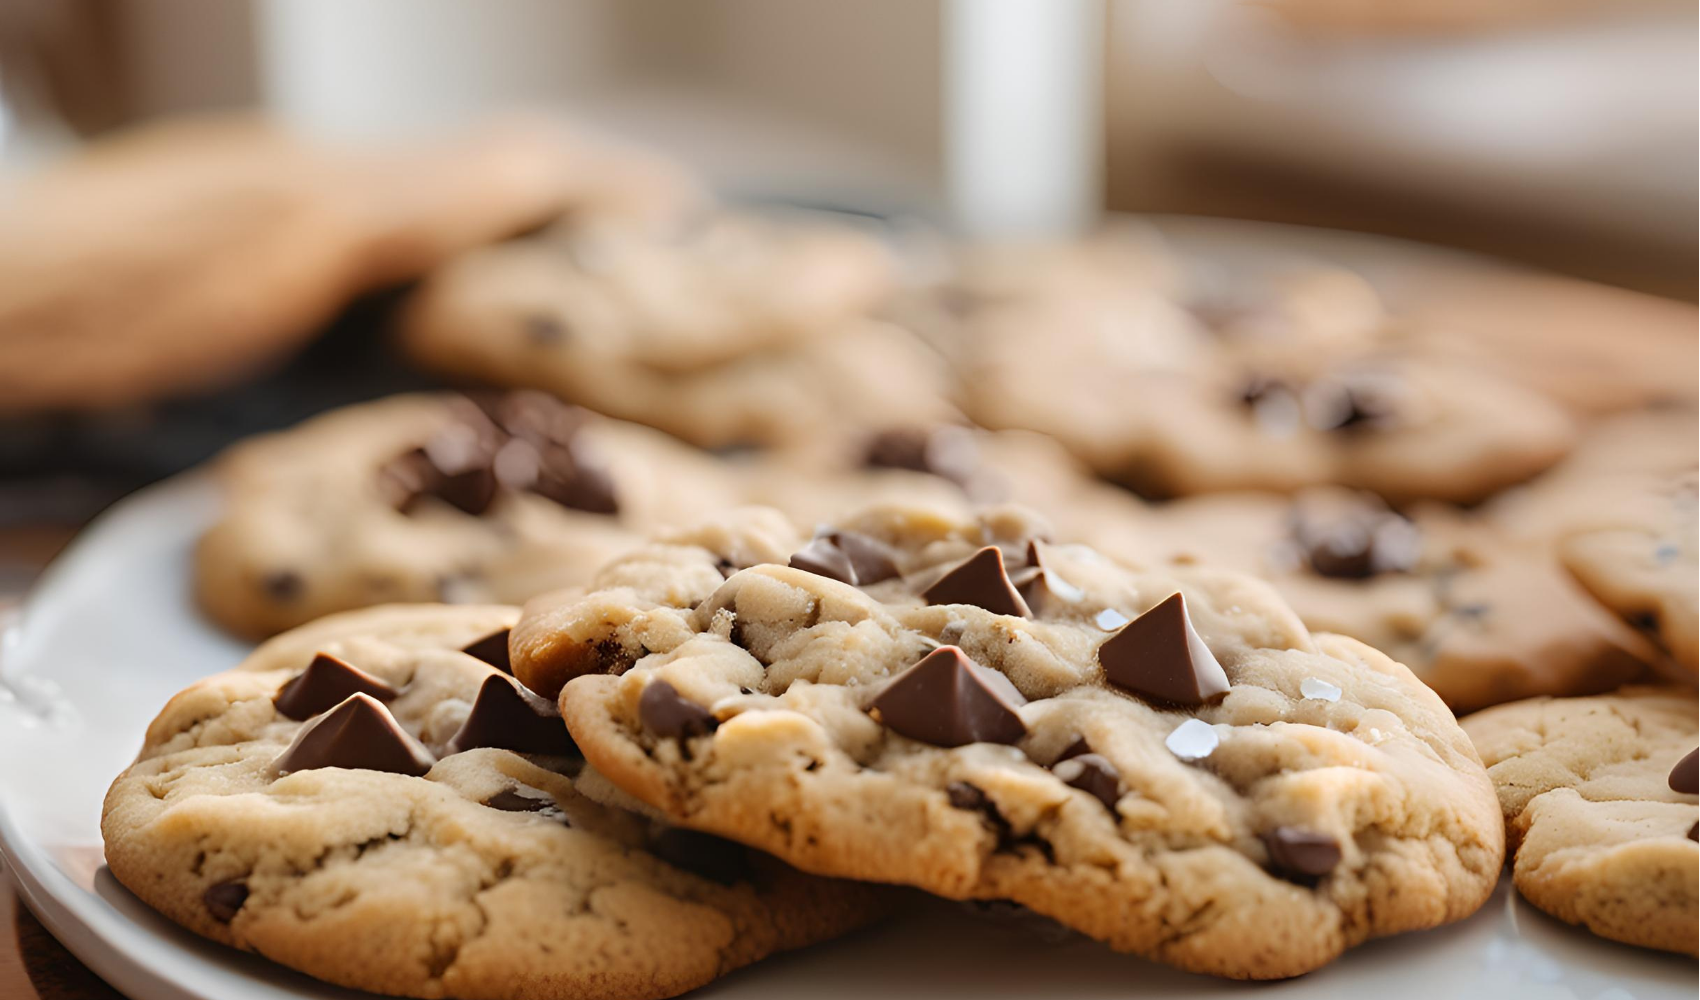
Adding a sprinkle of flaky sea salt to the top of each cookie before baking creates a delightful contrast to the sweetness of the dough and chocolate. The salt enhances the flavor of the ingredients, making the cookies taste more dynamic and satisfying. For best results, use a high-quality sea salt, such as Maldon, and add it sparingly—just a few flakes per cookie. This simple addition transforms ordinary cookies into a gourmet treat that’s sure to impress.
Disney Chocolate Chip Cookies Recipe
These cookies are inspired by the iconic chocolate chip cookies you may find at Disney theme parks. They are big, soft, chewy, and packed with chocolate chips. Follow these steps for the perfect batch!
Ingredients:
- 250 g unsalted butter, softened
- 200 g light brown sugar
- 100 g granulated sugar
- 2 large eggs (about 120 g)
- 10 ml vanilla extract
- 375 g all-purpose flour
- 5 g baking soda (1 tsp)
- 5 g salt (1 tsp)
- 300 g semisweet chocolate chips
- 100 g milk chocolate chips (optional, for extra richness)
- 100 g chopped nuts (optional, like walnuts or pecans)
Instructions:
Preheat the Oven
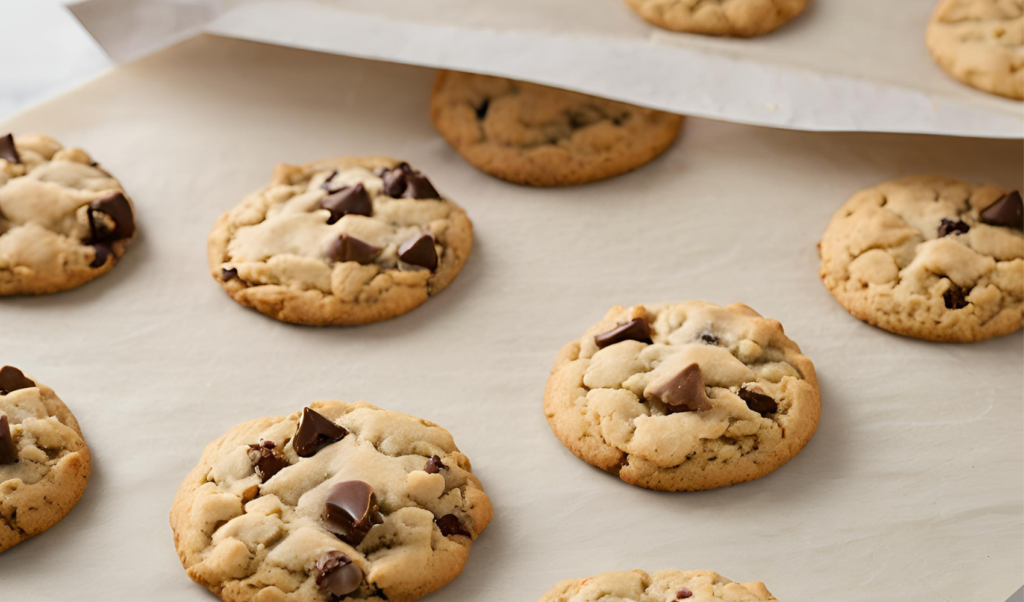
Begin by preheating your oven to 180°C (160°C for fan/convection ovens) or 350°F. Line two large baking sheets with parchment paper or silicone baking mats to prevent the cookies from sticking.
Cream the Butter and Sugars:
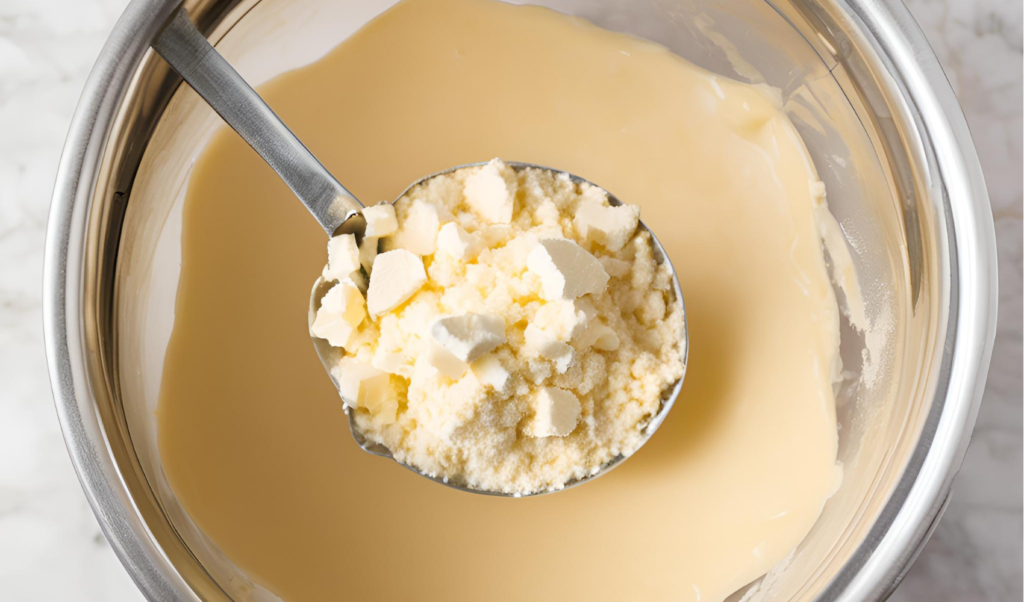
In a large mixing bowl, use a hand mixer or stand mixer to cream together the softened butter, light brown sugar, and granulated sugar. Mix on medium speed for about 2-3 minutes until the mixture is light and fluffy.
Add Eggs and Vanilla:
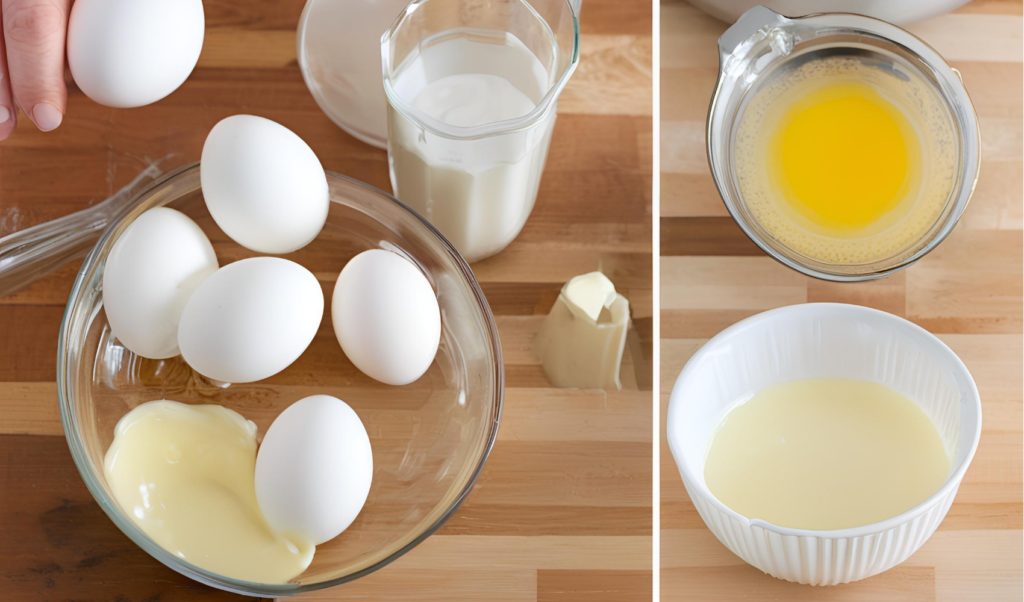
Crack the eggs into the bowl one at a time, mixing well after each addition. Add the vanilla extract and continue mixing for about 1 minute until fully incorporated. The mixture should be smooth and well-blended.
Mix Dry Ingredients:
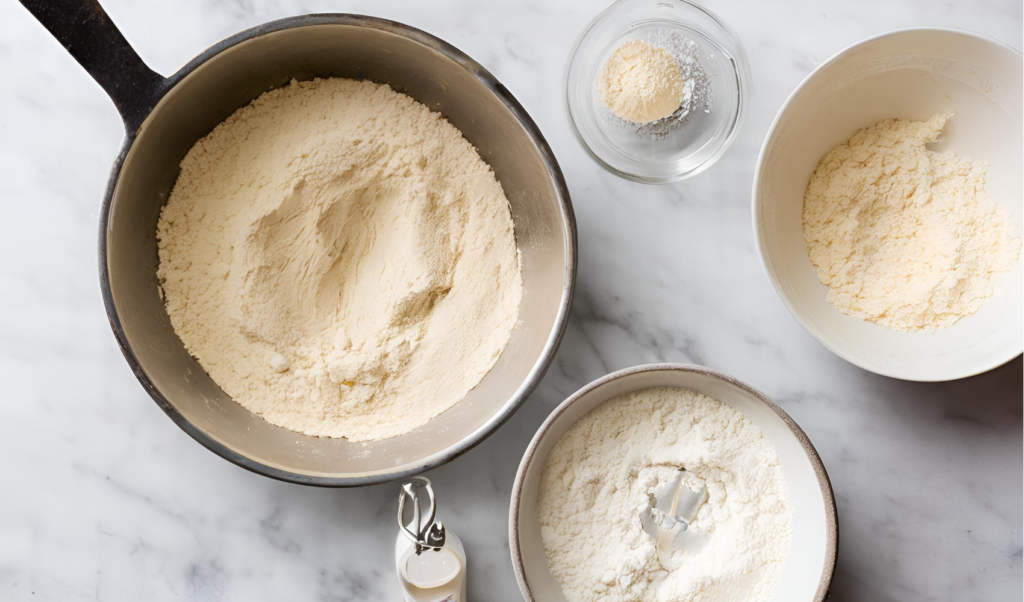
In a separate bowl, whisk together the flour, baking soda, and salt. This helps evenly distribute the leavening agents and prevents clumps in the dough. Set aside.
Combine Wet and Dry Ingredients:
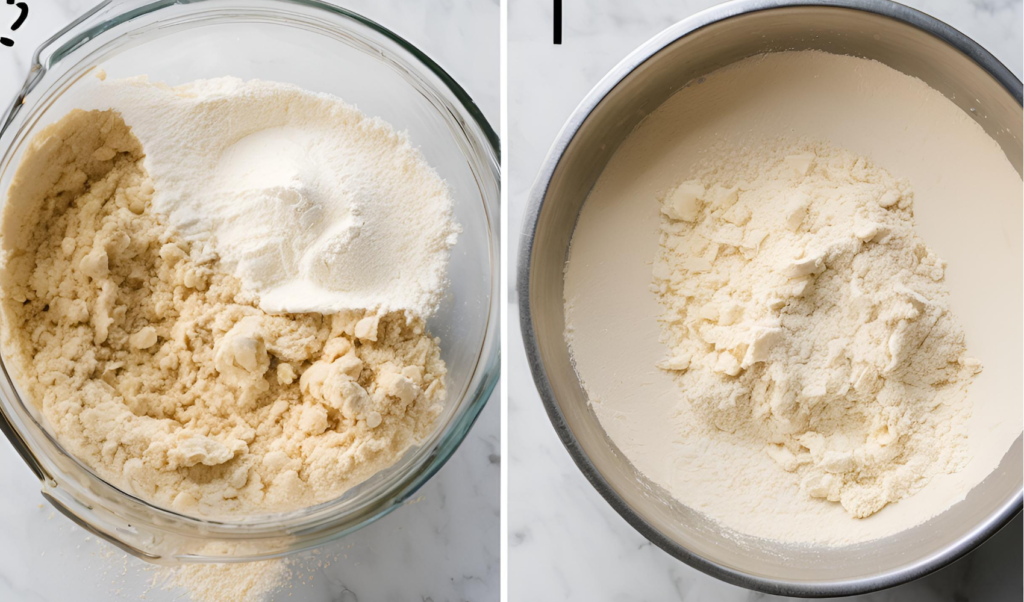
Gradually add the dry ingredients to the wet mixture. Start mixing on low speed to prevent the flour from flying out of the bowl. Once most of the flour is incorporated, increase the speed to medium and mix until the dough comes together. Be careful not to overmix, as this can lead to dense cookies.
Add Chocolate Chips and Optional Ingredients:
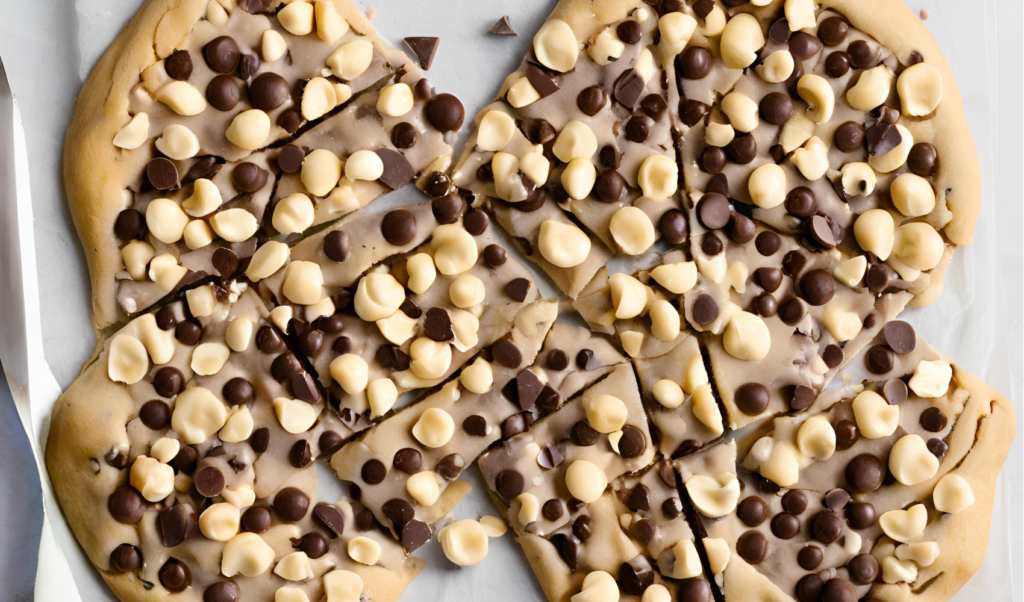
Gently fold in the semisweet and milk chocolate chips (and chopped nuts, if using) using a spatula or spoon. Make sure the chocolate is evenly distributed throughout the dough.
Add Chocolate Chips and Optional Ingredients:
Gently fold in the semisweet and milk chocolate chips (and chopped nuts, if using) using a spatula or spoon. Make sure the chocolate is evenly distributed throughout the dough.
Chill the Dough (Optional but Recommended):
For thicker and chewier cookies, wrap the dough in plastic wrap and refrigerate for 30 minutes to 1 hour. Chilling the dough helps prevent spreading too much during baking. However, if you’re short on time, you can skip this step.
Shape the Cookies:
Use a tablespoon or cookie scoop to portion out the dough. Roll each portion into a ball and place it on the prepared baking sheets, spacing them about 5 cm apart. You can also slightly flatten the tops of each dough ball if you prefer less rise and more spread.
Bake the Cookies:
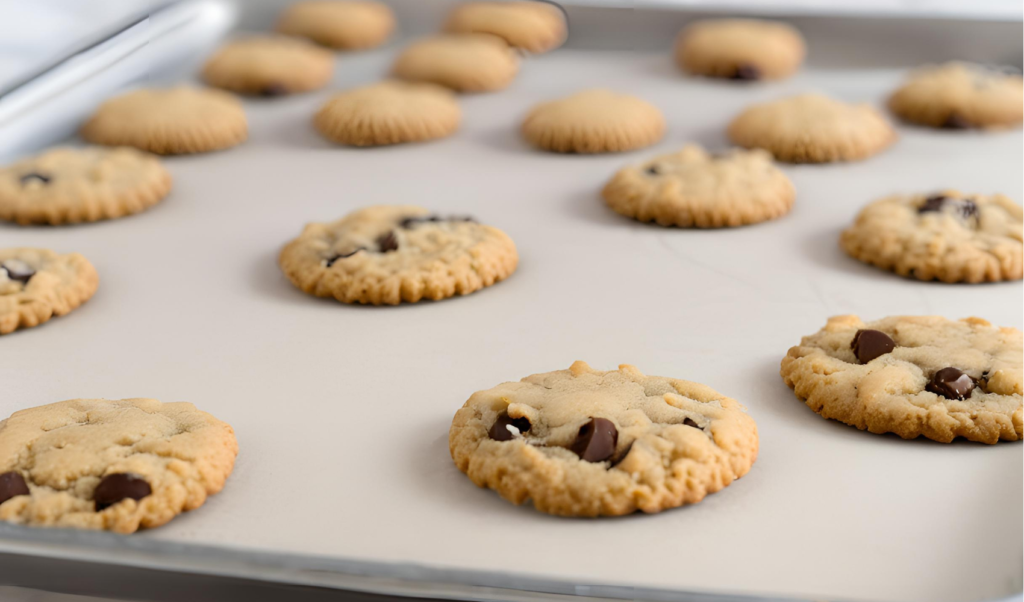
Bake in the preheated oven for 10-12 minutes, or until the edges are golden brown, but the centers are still soft. For larger cookies (about 60-70 g per cookie), you may need to bake them for a few extra minutes. Be sure to watch closely to avoid overbaking; they will continue to firm up as they cool.
Cool the Cookies:
Remove the baking sheets from the oven and let the cookies cool on the sheets for 5 minutes before transferring them to a wire rack to cool completely. This cooling period ensures that the cookies don’t break apart while they’re still hot and soft.
Serve and Enjoy:
Once the cookies have cooled slightly, enjoy the delicious, chewy goodness of these Disney-inspired chocolate chip cookies. They’re perfect for snacking, sharing with friends, or serving at any event.
Exploring the Science Behind Chocolate Chip Cooki
Baking chocolate chip cookies is more than just following a recipe—it’s a chemistry experiment that involves precise interactions between ingredients and techniques. By understanding the science behind the process, you can tailor every batch to achieve your desired flavor, texture, and appearance. This section explores how specific factors like chilling, ingredient selection, and baking temperatures influence the final product.
Why Chilling the Dough Matters
H4: The Impact on Flavor Development
Chilling cookie dough before baking significantly enhances its flavor by allowing time for the ingredients to meld. During the resting period, the flour absorbs more moisture, leading to a richer, more caramelized flavor when baked. Additionally, chilling the dough gives the sugar and butter time to form a more cohesive mixture, intensifying the cookie’s sweetness and creating a deeper, nuttier taste. This process, sometimes called “aging” the dough, allows the vanilla and chocolate flavors to become more pronounced, resulting in cookies that taste more balanced and satisfying.
H4: How Texture is Enhanced by Cooling
Cooling the dough affects not just the flavor but also the texture of the cookies. Cold dough spreads less during baking, leading to thicker, chewier cookies with a soft center and slightly crisp edges. The chilled butter in the dough melts more slowly in the oven, which reduces excessive spreading and gives the cookies a more uniform structure. For optimal results, chill the dough for at least 30 minutes, though overnight chilling often yields the best texture and flavor.
The Role of Ingredients in Cookie Chemistry
H4: Butter’s Role in Crispness and Softness
Butter is a key player in determining the texture of cookies. Melted butter creates cookies with a denser, chewier texture, as the liquid content binds with the flour more effectively. In contrast, creamed butter incorporates air into the dough, resulting in lighter, fluffier cookies. The fat content in butter also contributes to a soft, tender crumb, while its water content helps create steam during baking, enhancing the cookie’s rise. Adjusting how you use butter—whether melted, softened, or chilled—can dramatically alter the cookie’s final texture.
H4: Sugar Types and Their Effects on Texture
The choice and ratio of sugars in the recipe directly influence the cookie’s structure and sweetness. Brown sugar, with its molasses content, adds moisture and creates a chewy texture. It also enhances the cookie’s caramel-like flavor. White sugar, on the other hand, promotes spreading and results in a crisper texture. A balanced combination of both sugars provides the best of both worlds: a soft, chewy center with slightly crispy edges. Understanding this balance allows you to customize your cookies to your personal preference.
Baking at Different Temperatures
H4: Lower Temperatures for Chewy Cookies
Baking cookies at a lower temperature, such as 160–170°C (325°F), allows them to bake more slowly, preserving moisture in the dough. This results in cookies with a soft and chewy texture throughout. The slower baking process also gives the sugars more time to caramelize, enhancing the depth of flavor without over-browning the edges. Lower temperatures are ideal for larger cookies that need extra time to bake evenly.
H4: Higher Temperatures for Crispy Edges
For cookies with crisp, golden edges and a soft interior, higher baking temperatures, such as 190–200°C (375–400°F), are more effective. The increased heat causes the butter to melt and the dough to spread quickly, creating a thin, crispy outer layer. The sugars also caramelize faster, adding a toasty, slightly nutty flavor. However, higher temperatures require precise timing to prevent overbaking, as the cookies can transition from perfectly done to overly crisp in just a minute or two.
By delving into the science behind chocolate chip cookies, you can take greater control over every aspect of baking, from flavor intensity to texture and appearance. Whether it’s chilling the dough for enhanced flavor, experimenting with ingredient ratios, or adjusting baking temperatures to suit your preferences, these insights will help you master the art of cookie making.
Exploring the Science Behind Chocolate Chip Cookies
Baking chocolate chip cookies is not just about combining ingredients and waiting for the magic to happen in the oven. It’s a sophisticated process where science plays a pivotal role in determining the outcome. From the flavor and texture of the dough to how ingredients interact and bake at different temperatures, understanding the science behind the process allows you to create cookies that cater perfectly to your preferences. By making small adjustments at each stage, you can control the taste, texture, and visual appeal of every batch.
Why Chilling the Dough Matters
H4: The Impact on Flavor Development
Chilling cookie dough is an often overlooked step that profoundly impacts the flavor profile of chocolate chip cookies. When the dough rests in the refrigerator, a process called enzymatic browning occurs. This allows the sugar in the dough to break down, deepening the caramel notes and creating a more complex sweetness.
Simultaneously, the flour absorbs moisture from the wet ingredients, which enhances the cohesiveness of the dough and results in more concentrated flavors. Chilled dough also gives time for the vanilla extract and chocolate to permeate the mixture, creating a harmonious balance of flavors.
The longer the dough chills—ideally overnight—the more pronounced these effects become, transforming ordinary cookies into a gourmet treat. Moreover, chilling prevents the butter from melting too quickly during baking, preserving the structural integrity of the dough and ensuring every bite is rich and flavorful.
H4: How Texture is Enhanced by Cooling
Texture is as vital to cookies as flavor, and chilling the dough can significantly enhance this aspect. Cold dough spreads less in the oven, leading to cookies that are thicker and chewier. The solidified fats in chilled dough melt at a slower rate, allowing the cookies to maintain their shape as they bake. This results in a satisfying contrast between a crisp outer layer and a soft, gooey center. Additionally, the cooling process allows the starch in the flour to hydrate more thoroughly, which contributes to a denser and more consistent crumb. Whether you prefer a soft, chewy cookie or one with a slight crunch, chilling ensures that the dough delivers the desired texture every time.
The Role of Ingredients in Cookie Chemistry
H4: Butter’s Role in Crispness and Softness
Butter is a cornerstone ingredient in chocolate chip cookies, but its state and treatment can dramatically influence the outcome. Melted butter tends to yield cookies that are denser and chewier because the liquid fat binds more readily with the dry ingredients. In contrast, creamed butter incorporates air into the dough, resulting in cookies that are lighter and softer. The temperature of the butter also matters—softened butter blends more evenly, while chilled butter creates pockets of steam as it melts, contributing to a flaky texture.
The water content in butter further plays a role in cookie structure, as it evaporates during baking, leaving behind airy pockets that give cookies their characteristic crumb. The choice between salted and unsalted butter can also subtly affect the flavor, with salted butter adding a hint of complexity to balance the sweetness.
H4: Sugar Types and Their Effects on Texture
The type of sugar used in chocolate chip cookies is another critical factor that affects both texture and sweetness. Brown sugar, with its molasses content, is hygroscopic, meaning it attracts and retains moisture. This property contributes to a chewy texture and enhances the rich, caramel-like flavors in the cookie.
White sugar, on the other hand, is less moisture-retentive and promotes spreading, resulting in a crispier cookie. The ratio of brown to white sugar in a recipe allows you to customize the texture to your liking. For example, increasing the amount of brown sugar will create a softer, chewier cookie, while more white sugar will yield a cookie that is thinner and crunchier. The interplay between these two sugars is what gives traditional chocolate chip cookies their perfect balance of chewiness and crispness.
Baking at Different Temperatures
H4: Lower Temperatures for Chewy Cookies
Baking cookies at a lower temperature, such as 160°C (325°F), allows the dough to bake more slowly, preserving the moisture content within. This results in cookies that are soft and chewy throughout, with a tender crumb and minimal browning on the edges. The lower heat also gives the sugars more time to melt and caramelize, intensifying the cookie’s sweetness and creating a rich, toffee-like flavor. Lower temperatures are ideal for recipes that use high-moisture ingredients like brown sugar or eggs, as they help retain softness without compromising structure. For bakers who prefer a slightly underbaked, gooey center, this method is the key to achieving that texture.
H4: Higher Temperatures for Crispy Edges
For those who enjoy cookies with crispy edges and a soft center, baking at higher temperatures, such as 190°C (375°F), is the way to go. The intense heat causes the butter in the dough to melt rapidly, leading to quicker spreading and thinner cookies. This creates a golden, caramelized crust while leaving the interior slightly soft and chewy. However, higher temperatures require precise timing to avoid overbaking, as cookies can transition from perfectly golden to burnt in a matter of seconds. The technique works especially well for smaller cookies, as they bake quickly and evenly at higher temperatures.
Customizing Disney Chocolate Chip Cookies
Disney chocolate chip cookies are already a delightful treat, but they can be customized to suit dietary needs or creative preferences. By making substitutions or adding unique ingredients, you can elevate these iconic cookies into a personalized masterpiece that fits any occasion.
Dietary Adjustments
H4: Vegan Substitutions (Plant-Based Butter and Eggs)
For a vegan twist on Disney chocolate chip cookies, replacing traditional ingredients with plant-based alternatives is easier than ever. Use vegan butter or margarine as a substitute for dairy butter, ensuring it has a similar fat content for optimal texture. For eggs, options like flaxseed meal, chia seeds, or applesauce work beautifully. To make a flaxseed egg, mix one tablespoon of ground flaxseed with three tablespoons of water and let it sit until it forms a gel-like consistency. These substitutes maintain the structure and moistness of the cookies while adhering to a plant-based diet. Vegan chocolate chips, readily available in stores, complete the transformation without sacrificing the rich, chocolaty flavor that makes these cookies so beloved.
H4: Low-Sugar or Sugar-Free Alternatives
For those looking to reduce sugar intake, replacing traditional sugars with low-calorie or sugar-free options can still yield delicious cookies. Erythritol or monk fruit sweetener are excellent choices, as they mimic the sweetness of sugar without contributing extra calories. When using sugar substitutes, it’s important to check their sweetness-to-sugar ratio, as some are more potent and may require adjustments to the recipe. Additionally, using unsweetened chocolate chips or dark chocolate (70% cocoa or higher) can help balance sweetness while adding a rich, robust flavor.
Creative Additions
H4: Mix-Ins Like Nuts, Dried Fruits, or Spices
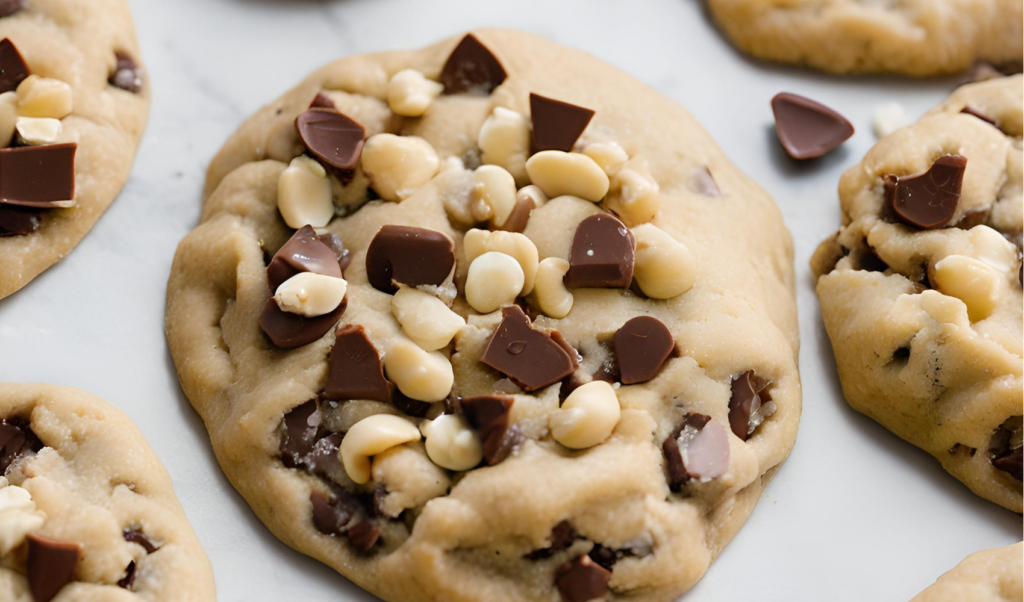
Adding mix-ins like chopped nuts, dried fruits, or warm spices can elevate the flavor and texture of Disney chocolate chip cookies. Walnuts, pecans, or macadamia nuts provide a delightful crunch and complement the richness of the chocolate. For a fruity twist, consider adding dried cranberries, cherries, or apricots, which introduce a tangy contrast to the sweetness. Spices like cinnamon, nutmeg, or even a hint of cardamom can create a cozy, aromatic profile perfect for holiday baking. These additions not only enhance the cookies’ flavor but also make them visually appealing and unique.
H4: Drizzling with Chocolate or Adding Frosting
For an extra touch of indulgence, drizzle your baked cookies with melted chocolate or add a thin layer of frosting. White chocolate or dark chocolate drizzles add a professional finish, while frosting can be flavored with vanilla, cream cheese, or even citrus zest for a refreshing twist. To make the cookies even more magical, decorate with sprinkles, edible glitter, or colorful sugar crystals to match a Disney theme. These finishing touches transform the cookies into a showstopping dessert suitable for parties, gifts, or simply a special treat at home.
Disney-Inspired Baking Themes
Baking Disney-inspired treats is a delightful way to bring the magic of Disney into your kitchen. Whether it’s for a themed party, a family gathering, or just a fun baking session, incorporating Disney elements into your cookies can create a whimsical and memorable experience. From shaping cookies into beloved characters to recreating iconic park treats, Disney-inspired baking offers endless possibilities to unleash your creativity.
Making Cookies for Disney-Themed Parties
H4: Shaping Cookies into Disney Characters
One of the most enjoyable ways to incorporate Disney into your baking is by shaping cookies into iconic Disney characters. Using cookie cutters in shapes like Mickey Mouse, Minnie Mouse, or other classic characters adds an instantly recognizable Disney flair. These cutters are widely available online or in specialty baking stores. For more intricate designs, you can use a template and carefully cut the shapes by hand. Another option is to create designs with edible icing pens or piping bags, allowing you to add character details directly onto round or square cookies. These shaped cookies not only add a festive touch to parties but also make for a fantastic activity for kids and adults alike.
H4: Decorating with Food Colors or Edible Glitter
To truly capture the Disney magic, decorating cookies with vibrant food colors or edible glitter can make them stand out. Use food-safe brushes to paint intricate designs in Disney’s signature palette—think red and black for Mickey Mouse, blue and yellow for Snow White, or shimmering gold for Belle’s dress. Edible glitter and metallic dust can add a magical sparkle, reminiscent of fairy dust, making the cookies look as though they’ve come straight out of a Disney movie. For an extra touch, consider using edible pearls, sprinkles, or themed toppers to complete the look. These decorations not only enhance the aesthetic but also make the cookies feel special and immersive.
Cookies Inspired by Disney Parks
H4: Recreating Famous Disney Treats at Home
Disney parks are renowned for their unique and delectable snacks, and recreating these iconic treats at home is a fantastic way to relive the magic. Cookies inspired by Disney parks might include flavors or designs reminiscent of popular park items like Mickey-shaped cookies, churro-inspired cookies, or cookies with Dole Whip frosting. Many Disney treats are known for their nostalgic flavors, such as buttery shortbread or cinnamon-infused dough, which can be easily adapted into cookie recipes. Recreating these cookies allows you to enjoy a taste of Disney without leaving your kitchen.
H4: Pairing Cookies with Disney-Themed Drinks
Pairing Disney-inspired cookies with themed drinks creates a cohesive and immersive experience. For example, serve chocolate chip cookies with a hot cocoa inspired by Olaf from Frozen, complete with marshmallow snowmen. Alternatively, pair churro-flavored cookies with a refreshing Dole Whip smoothie or lemonade inspired by Disney’s Adventureland. These pairings elevate your Disney-themed baking and make any gathering feel like a magical adventure. Themed drinks also add an interactive element to your baking, as guests can mix and match their favorite combinations.
Comparing Disney’s Recipe to Other Chocolate Chip Cookies
The Disney chocolate chip cookie recipe has earned a reputation for being both iconic and indulgent. But how does it compare to other popular recipes? Understanding the unique elements of Disney’s approach and how it stands out in texture, flavor, and balance will deepen your appreciation for these beloved cookies. Comparing Disney’s recipe to store-bought options or other homemade variations can also inspire creative experimentation.
What Makes Disney’s Recipe Unique
H4: Richness of Ingredients
Disney’s chocolate chip cookies are renowned for their richness, and this can be attributed to the quality and balance of the ingredients used. High-fat butter, premium chocolate chips, and a blend of brown and white sugars create a cookie that is rich, flavorful, and perfectly moist. Unlike standard recipes, Disney’s version often includes a higher ratio of brown sugar, which contributes to a deeper caramel flavor. Additionally, the use of high-quality vanilla extract enhances the overall taste, making each bite a luxurious experience. This richness sets Disney’s cookies apart, making them feel more like a gourmet treat than a simple homemade dessert.
H4: Perfect Balance of Sweet and Savory
One of the standout features of Disney’s recipe is its ability to strike the perfect balance between sweetness and a subtle savory note. A pinch of salt in the dough enhances the sweetness without overwhelming it, creating a harmonious flavor profile. This balance is further achieved by the use of semi-sweet chocolate chips, which prevent the cookies from becoming cloyingly sweet. The result is a cookie that appeals to a wide range of tastes, making it a crowd-pleaser for all ages.
Differences in Texture and Flavor
H4: How Disney’s Cookies Compare to Store-Bought
When compared to store-bought cookies, Disney’s chocolate chip cookies are in a league of their own. Store-bought options often rely on preservatives, artificial flavors, and lower-quality ingredients, resulting in a cookie that lacks the freshness and richness of homemade versions. Disney’s recipe, on the other hand, produces cookies that are soft, chewy, and bursting with authentic flavor. The homemade aspect allows for customization, ensuring that each batch can be tailored to personal preferences, something store-bought cookies cannot offer.
H4: Variations in Homemade Recipes
Homemade chocolate chip cookie recipes vary widely, but Disney’s recipe stands out for its attention to detail and balance. For instance, some homemade recipes might emphasize crisp edges and a chewy center, while others aim for a soft, cake-like texture. Disney’s cookies manage to combine the best of both worlds, with their slightly crisp edges and perfectly gooey centers. The recipe also allows for creative variations, such as adding extra chocolate chips, nuts, or even a sprinkle of sea salt for a gourmet touch. These features make Disney’s recipe adaptable and appealing to a wide audience.
By exploring Disney-inspired baking themes and comparing their chocolate chip cookie recipe to others, you can appreciate the magic behind these cookies and use them as a canvas for creativity. Whether you’re recreating park-inspired treats, designing cookies for themed parties, or experimenting with the recipe’s versatility, Disney chocolate chip cookies offer endless opportunities to bring a touch of magic to your kitchen.
Fun Facts About Chocolate Chip Cookies
Chocolate chip cookies are more than just a delicious treat—they have an incredible history and cultural significance that has made them a worldwide favorite. From their humble beginnings to their adaptation by Disney, these cookies have a story as rich and sweet as their flavor. Fun facts about chocolate chip cookies reveal their surprising evolution and their special place in many kitchens and hearts.
The History of Chocolate Chip Cookies
H4: The Origin of the Original Recipe
Chocolate chip cookies were invented in the 1930s by Ruth Wakefield, the owner of the Toll House Inn in Whitman, Massachusetts. Ruth initially intended to make chocolate cookies by adding chopped pieces of semi-sweet chocolate to her dough, expecting them to melt entirely. Instead, the chocolate held its shape, creating the first batch of chocolate chip cookies. This accidental creation quickly became a hit, and the recipe was printed on the back of Nestlé chocolate bar packaging after Ruth made a deal with the company. Today, her original recipe is considered a classic and remains the foundation for countless variations.
H4: How Chocolate Chip Cookies Became a Worldwide Favorite
The popularity of chocolate chip cookies soared during World War II when soldiers from Massachusetts shared care packages containing Toll House cookies with fellow troops. As soldiers returned home, they brought the recipe with them, sparking a nationwide obsession. Over time, the cookies spread globally and adapted to local tastes, becoming one of the most beloved desserts worldwide. Their versatility and comforting flavor have ensured their place as a staple in homes, bakeries, and restaurants across the globe.
Also Discover: Best Easy Gender Reveal Cake That Will Wow Your Guests
Disney and Its Love for Cookies
H4: Iconic Desserts in Disney Parks
Disney parks are famous for their enchanting treats, and chocolate chip cookies hold a special place among them. One of the most popular desserts is the Mickey-shaped cookie, often found in various locations throughout the parks. These cookies are not only a delicious snack but also a visual reminder of Disney’s magic and charm. Disney also offers oversized chocolate chip cookies and cookie-based desserts like cookie ice cream sandwiches, making them a staple for visitors seeking indulgence and nostalgia.
H4: How Disney Recipes Capture Nostalgia
Disney’s recipes, including their chocolate chip cookies, are carefully crafted to evoke a sense of nostalgia and comfort. The classic flavors and rich textures of these cookies remind many guests of home-baked treats from childhood, tying their Disney experience to cherished memories. The recipes often feature high-quality ingredients and thoughtful techniques that ensure every bite feels special. By blending tradition with Disney magic, these cookies become more than just a snack—they become an integral part of the Disney storytelling experience.
Cooking with Kids: A Magical Experience
Baking with children is not only a fun activity but also a wonderful way to create lasting memories. When it comes to making Disney chocolate chip cookies, the process becomes even more magical. Whether assigning tasks to little helpers or encouraging creativity with decorations, baking cookies as a family is an opportunity for bonding, learning, and laughter.
Making Disney Cookies as a Family Activity
H4: Assigning Fun Tasks to Kids
Involving kids in the cookie-making process can be both engaging and educational. Assign simple tasks like measuring ingredients, cracking eggs, or mixing the dough. For younger children, ask them to sprinkle chocolate chips or line the baking tray with parchment paper. These small but meaningful contributions make kids feel included and proud of the final product. Assigning fun tasks also helps develop their motor skills and introduces basic math concepts like counting and measuring.
H4: Teaching Baking Basics Through the Recipe
Making Disney chocolate chip cookies is an excellent way to introduce children to baking fundamentals. Explain the purpose of each ingredient, such as how baking soda makes the cookies rise or how butter adds richness. Teach them the importance of following the recipe’s steps in order and demonstrate techniques like folding, mixing, and scooping dough. These hands-on lessons not only make the activity more interactive but also lay the foundation for lifelong cooking skills.
Creative Cookie Projects for Children
H4: Decorating Cookies with Fun Toppings
Once the cookies are baked, decorating them becomes a canvas for creativity. Provide an assortment of toppings such as colorful sprinkles, mini marshmallows, candy pieces, or edible glitter. Kids can also use frosting to draw patterns, write their names, or recreate their favorite Disney characters. Encourage them to experiment with different designs and colors, turning each cookie into a unique masterpiece. This activity fosters imagination and lets kids take pride in their edible creations.
H4: Creating Personalized Cookie Shapes
Another fun project is creating personalized cookie shapes. Use cookie cutters in Disney-themed shapes like Mickey Mouse, stars, or castles, or let kids shape the dough by hand into their favorite designs. You can also guide them in making initials, hearts, or other simple shapes. Personalized cookies add an extra layer of excitement to baking and can be packaged as gifts for friends and family. This activity turns a simple recipe into a memorable and magical experience.
Cooking with kids and exploring the history and magic behind chocolate chip cookies makes baking a truly enriching experience. From learning about their origins to crafting Disney-inspired creations, these activities bring families together and spark joy in the kitchen. Whether you’re baking for a party or simply enjoying a cozy afternoon, chocolate chip cookies continue to inspire smiles and sweet memories.
Troubleshooting Disney Chocolate Chip Cookies
Even the most experienced bakers encounter issues when making cookies, and Disney chocolate chip cookies are no exception. From dough consistency problems to baking mishaps, understanding how to troubleshoot common issues can save your batch and ensure every cookie is as magical as it should be. Here’s how to tackle some of the most frequent challenges.
Common Issues with the Dough
H4: Too Sticky or Dry? How to Fix It
Dough consistency can make or break your cookies. If the dough is too sticky, it’s often due to warm butter or an excess of liquid ingredients. To fix this, refrigerate the dough for 20–30 minutes or gradually add a tablespoon of flour until it becomes manageable. Conversely, if the dough is too dry, it may be due to insufficient liquid or over-measured flour. Add a teaspoon of milk or water at a time, mixing gently until the desired consistency is achieved. Always measure ingredients accurately and use room-temperature butter to avoid these issues.
H4: Why Dough Spreads Too Much While Baking
Cookies that spread too thin in the oven can result from overly softened butter or a warm kitchen environment. Butter that is too soft creates a dough that lacks structure, causing the cookies to spread excessively. Chilling the dough for at least an hour before baking helps firm it up, preventing overspreading. Another cause might be insufficient flour—double-check your measurements and consider adding an extra tablespoon of flour if the issue persists. Baking on parchment paper or silicone mats can also help control spreading.
Baking Problems and Solutions
H4: Why Cookies Burn on the Bottom
Burnt cookie bottoms are a common problem and are often caused by improper baking trays or overheating. Thin, dark-colored trays absorb more heat, leading to quicker browning. Opt for light-colored, heavy-duty baking sheets to promote even heat distribution. Another factor could be the oven itself—use an oven thermometer to ensure accurate temperatures and bake on the middle rack to avoid hotspots. Adding an extra layer of parchment paper or a silicone mat can also help insulate the cookies and prevent burning.
H4: How to Prevent Uneven Baking
Unevenly baked cookies can occur when the dough balls are not uniform in size or when the oven’s heat isn’t evenly distributed. Always use a cookie scoop to ensure consistent portions of dough. If your oven has hotspots, rotate the baking tray halfway through the baking time to promote even cooking. Additionally, avoid overcrowding the tray—space cookies at least 2 inches apart to allow for proper airflow and expansion.
Beyond the Recipe: Cookie Presentation Ideas
Disney chocolate chip cookies are not just about taste; their presentation can elevate any gathering or gift. Whether you’re arranging them for a party or pairing them with complementary beverages, creative presentation adds an extra layer of charm to your homemade treats.
Plating and Displaying Cookies
H4: Arranging Cookies for Parties and Gatherings
To make cookies the centerpiece of your party, arrange them artfully on tiered platters or dessert stands. Group them with other Disney-inspired treats like cupcakes or macarons to create a themed dessert table. For a more casual setup, consider colorful plates or trays that complement the cookies’ golden-brown hue. Adding decorative elements such as edible glitter or small Disney figurines around the platter can tie the presentation together and make it visually appealing.
H4: Using Cookie Jars or Gift Boxes for Presentation
For gifting or long-term storage, cookie jars and gift boxes are excellent options. Choose clear glass jars to showcase the cookies’ textures and add a decorative ribbon or tag for a personal touch. For gift boxes, line them with parchment or tissue paper to keep the cookies fresh and visually appealing. You can even customize the box with Disney-themed stickers, making the gift feel magical and thoughtful.
Pairing Cookies with Beverages
H4: Best Drinks to Complement Disney Chocolate Chip Cookies
Pairing cookies with the right beverage enhances their flavors and creates a delightful experience. Classic choices like milk or hot cocoa bring out the cookies’ sweetness, while coffee or espresso adds a sophisticated contrast to their rich chocolate notes. For a refreshing twist, pair cookies with iced tea or a creamy milkshake. When serving at parties, consider offering a selection of beverages to cater to different preferences.
H4: Creating Cookie and Drink Combos for Events
For themed events or gatherings, designing cookie and drink pairings adds an interactive and creative element. For example, serve cookies with “Elsa’s Frosty Milkshake” for a Frozen party or pair them with “Mickey’s Mocha” for a more classic Disney theme. Another idea is to create a DIY cookie and drink station, where guests can choose their favorite cookies and pair them with custom beverages like flavored milk or specialty teas. This not only elevates the presentation but also ensures a memorable and magical experience for everyone.
Scaling the Recipe for Larger Batches
When scaling up a recipe to make larger batches, there are several important factors to consider in order to maintain the flavor, texture, and quality of the final product. Whether you are baking for a party, a crowd, or for a business, making adjustments to ingredient quantities, mixing times, and baking techniques is crucial. As you increase the batch size, it can be tempting to simply multiply the quantities by two, three, or more, but this isn’t always as straightforward as it seems.
Factors such as ingredient behavior, mixing equipment capacity, and oven size can all play a role in the outcome. It’s important to carefully adjust your recipe to ensure you don’t compromise the balance of flavors or the consistency of the dough. Additionally, you’ll need to monitor how the dough behaves at a larger scale and make necessary tweaks to keep your cookies tasting just as good as when you bake smaller quantities. By understanding how scaling affects each step of the process—from ingredient ratios to baking times—you can easily adapt any recipe to suit your larger needs without sacrificing quality.
Doubling or Tripling Ingredients
When scaling a recipe for larger batches, one of the first things you’ll need to do is double or triple the ingredients. While this may seem simple, it’s essential to maintain the correct balance between ingredients. Increasing quantities too much or too little can result in cookies that are too dry, too sweet, or have an undesirable texture.
Generally, when doubling or tripling a recipe, you should increase all ingredients proportionally, but it’s a good idea to be mindful of certain ingredients that might require slight adjustments. For example, eggs may need to be increased in increments of one at a time rather than doubling or tripling exactly. Likewise, ingredients like salt or baking soda should be handled with care, as adding too much can alter the taste or cause the cookies to rise too much, resulting in a different texture.
Always measure carefully and, when possible, test the recipe in smaller batches first before scaling up to larger amounts. Also, keep in mind that mixing times and baking techniques may need to be adjusted to accommodate the increased volume.
Maintaining the Right Ratios
One of the most important things to remember when doubling or tripling ingredients is maintaining the right ratios between the dry and wet ingredients. This ensures that the texture of the cookies remains consistent. A typical cookie dough recipe includes flour, butter, sugar, eggs, and leavening agents like baking soda or baking powder, and each of these components plays a crucial role in the final outcome.
The flour-to-fat ratio, for example, affects the cookie’s structure, while the sugar content influences the spread and crispiness. If you scale up the ingredients too quickly or inconsistently, you risk creating dough that’s too sticky, too dry, or too crumbly. Always ensure that the wet ingredients, such as eggs and butter, are proportionally adjusted to match the increased quantity of dry ingredients like flour and sugar. Keeping these ratios in check will help you maintain a consistent dough that bakes into the perfect cookie, regardless of how large the batch is.
Adjusting Mixing and Baking Times
When scaling a recipe for larger batches, mixing and baking times should be adjusted to account for the increased volume of dough. Mixing dough in large quantities requires more time and may require more powerful equipment, especially when using stand mixers or food processors.
For hand mixing, you’ll need to be patient and ensure all ingredients are evenly incorporated, which may take longer than when working with smaller batches. The texture of the dough can also change when scaling up, so be sure to check the consistency. If the dough is too stiff or sticky, consider adding a small amount of flour or liquid to adjust it to the right consistency.
As for baking, you’ll need to take into account how much dough you are placing in the oven at once. Larger batches may require you to bake in multiple batches to avoid overcrowding the oven, which can lead to uneven cooking. You may also need to slightly adjust baking times—cookies may need a few more minutes to bake thoroughly when placed in the oven together. Always keep a close eye on your cookies and check for doneness a minute or two before the recommended time to avoid over-baking.
Baking for Crowds or Events
Baking for large groups, parties, or events requires thoughtful planning to ensure you make enough cookies without compromising quality. Whether you are baking for a birthday party, a holiday event, or a community fundraiser, the key to success is efficiency. The first thing to consider is how many cookies you need, which can be estimated by the number of guests and how many cookies you expect each person to eat.
After determining the quantity, you’ll need to scale your recipe accordingly, which often means doubling or tripling it, or even more depending on the size of the event. Another challenge when baking for crowds is consistency in taste and texture. Large batches often require additional attention to detail in terms of ingredient ratios, mixing, and baking times. Preparing ingredients in advance, using larger kitchen equipment, and even investing in commercial-sized mixers or ovens can help streamline the process.
Additionally, since the number of cookies needed may be large, you should think about how to manage the storage and serving of these cookies once baked. Having a plan in place for both production and distribution will help your event go smoothly and ensure your cookies are a hit with guests.
Tips for Efficient Dough Preparation
When preparing dough for large batches, efficiency becomes key, especially when working with limited time and space. One of the best ways to streamline dough preparation is to batch out the steps. Begin by measuring all your ingredients ahead of time, and if possible, use a stand mixer or industrial-sized mixer to handle larger volumes of dough.
This will save you significant time compared to mixing by hand. If you’re using a stand mixer, remember that it may struggle with very large batches, so it might be necessary to mix in two or three smaller batches, which can still be more efficient than working entirely by hand. For added convenience, you can refrigerate or freeze portions of the dough to bake later, which can be particularly helpful when baking in advance for events.
If you have limited oven space, consider pre-shaping the dough into cookie portions ahead of time and placing them on baking sheets in the freezer until they’re solid, making it easy to bake in large quantities without taking up too much room at once.
Storing Cookies for Bulk Events
When preparing for a large event, storing your cookies properly is just as important as the baking process itself. Freshly baked cookies can become stale quickly if they are not stored correctly, so it’s essential to ensure they stay fresh until it’s time to serve them. One of the best ways to store cookies for bulk events is by keeping them in airtight containers.
Use plastic containers with tight-fitting lids, or resealable bags to keep moisture out. For cookies with delicate textures or soft centers, consider adding a slice of bread to the container to help keep them soft. If you’ve baked a large number of cookies and are storing them for several days before the event, freezing can be an effective way to maintain freshness.
Freeze cookies in layers, separated by parchment paper, to prevent them from sticking together. When ready to serve, simply thaw the cookies at room temperature for a few hours. For events that require cookies to be served warm, consider reheating them briefly in the oven before serving. Proper storage will help ensure that your cookies stay delicious and maintain the right texture, even when baked in large quantities.

