Hello Kitty, created by Sanrio in 1974, is a global icon recognized for her simple yet charming design. Known for her white cat face, no mouth, and signature bow, she has become a symbol of joy and nostalgia. What started on a coin purse has expanded into a vast cultural phenomenon, appearing on toys, fashion, and even food. Hello Kitty continues to captivate hearts worldwide, making her a beloved choice for cakes and celebrations.

Why a Hello Kitty Cake? Exploring the Appeal for All Ages
A Hello Kitty cake appeals to people of all ages. For children, her friendly face brings joy to any party, while adults often find nostalgia in her timeless design. Whether it’s for a child’s birthday or a more grown-up celebration, Hello Kitty’s universal appeal makes her an excellent choice for cakes. The simplicity of her design also allows for creative and fun interpretations, making it easy for bakers of all skill levels to bring her to life.
Suitable Occasions for Hello Kitty Cakes (Birthdays, Baby Showers, Themed Parties)
Hello Kitty cakes are ideal for many events. They are especially popular at children’s birthday parties, where her cute appearance delights guests. Baby showers also benefit from her soft and playful aesthetic, making her the perfect choice for welcoming a new arrival. Beyond these, Hello Kitty can fit into various themed parties, adding a touch of whimsy and fun to any celebration, from tea parties to kawaii-themed events.
The Appeal of Personalization: Customizing Your Hello Kitty Cake for Any Celebration
One of the best things about a Hello Kitty cake is its versatility. It can be easily personalized to suit any occasion or individual taste. From custom colors and themes to adding names or special messages, a Hello Kitty cake can be tailored to reflect the celebration’s unique vibe. Whether you’re hosting a birthday, baby shower, or just a themed gathering, customizing your cake ensures it feels special and personal.
Cake Design Overview
What Makes a Hello Kitty Cake Unique?
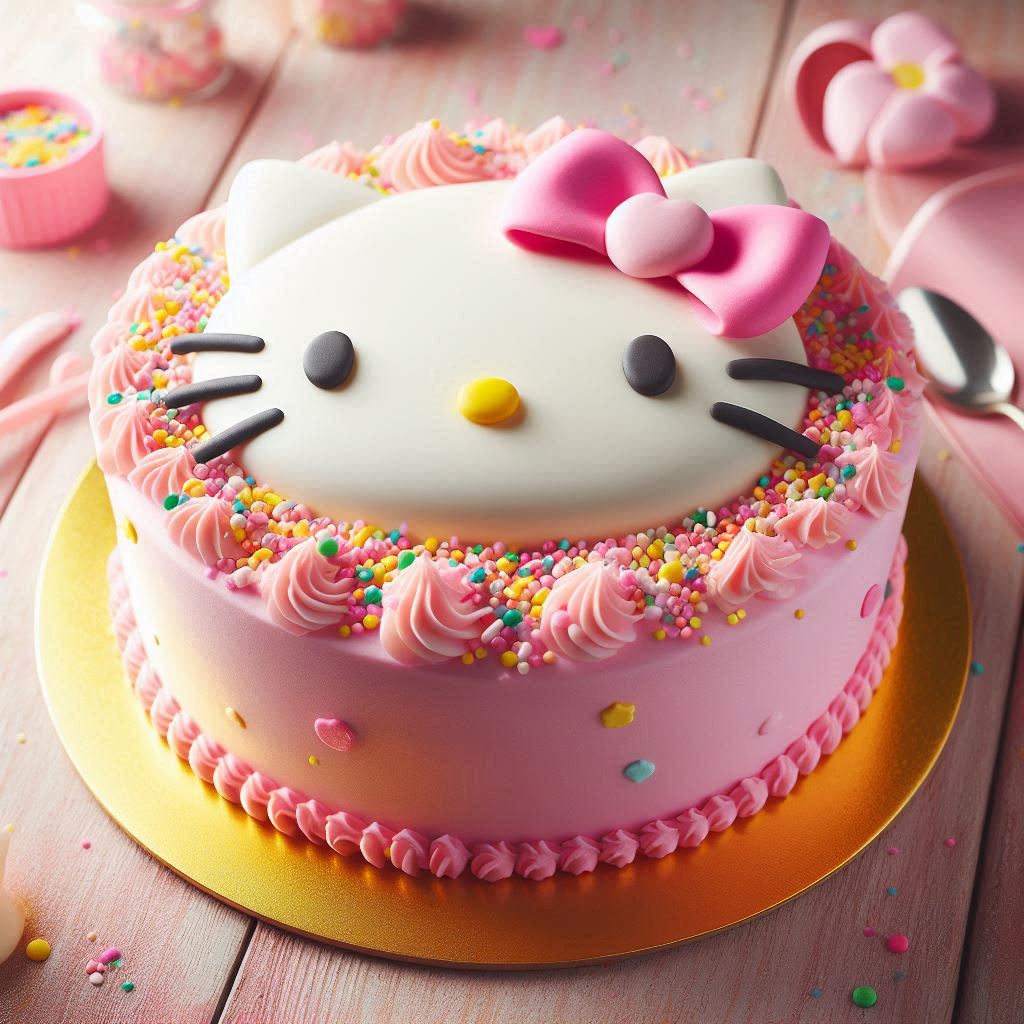
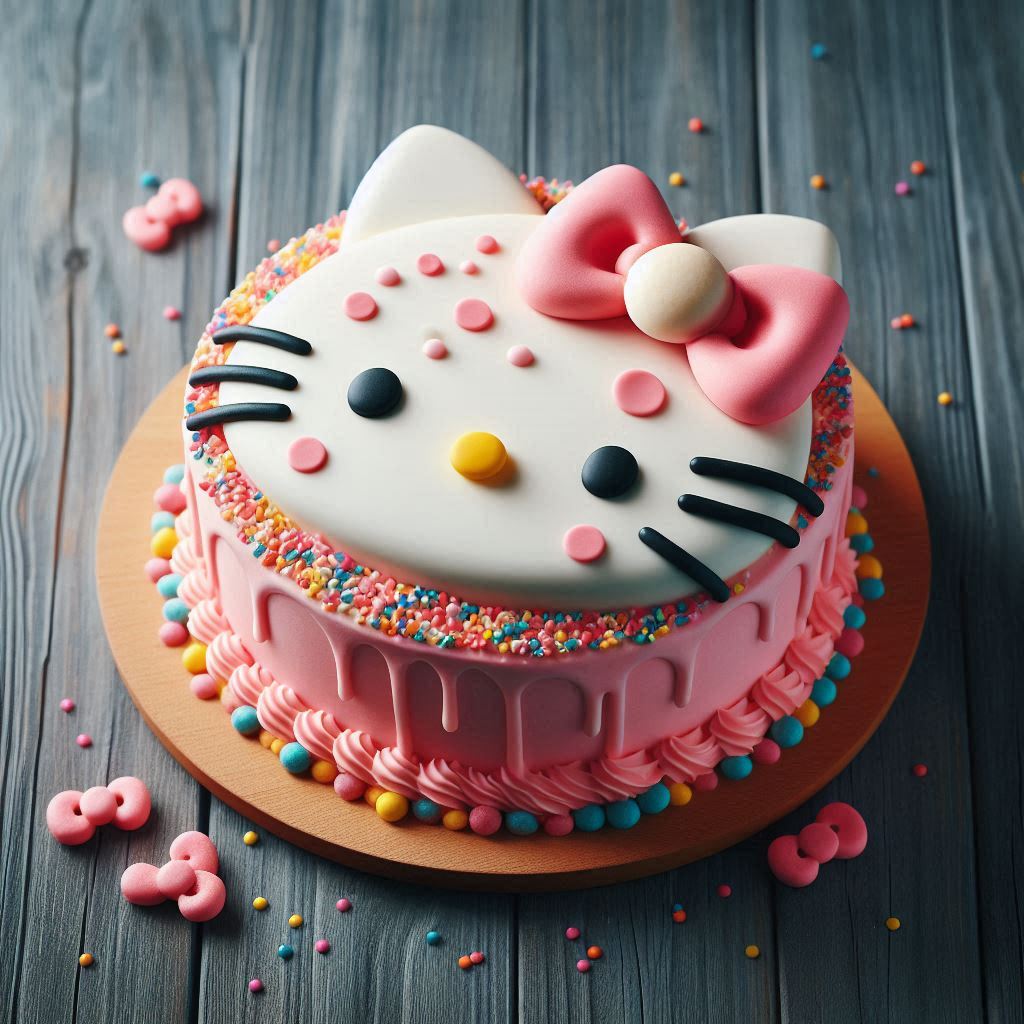
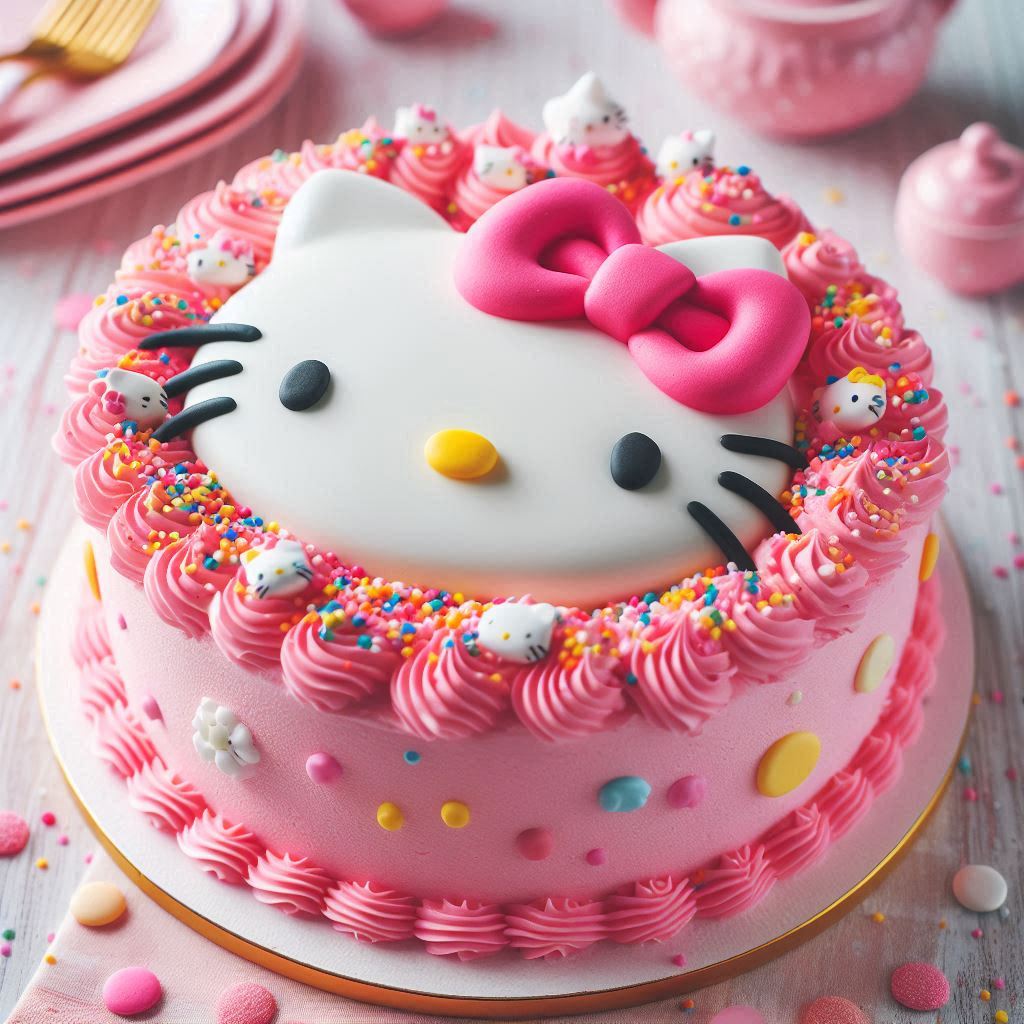
What makes a Hello Kitty cake stand out is its iconic, simple design. Her face is instantly recognizable, and the playful bow adds a unique touch to any cake. The clean lines and bright colors allow bakers to create a beautiful cake with minimal effort, yet it always looks charming and cheerful. Whether it’s a 2D or 3D design, Hello Kitty’s face is an easy, fun focal point for any cake.
Visual Concepts for Hello Kitty Cake Designs
Hello Kitty cakes can be designed in various ways, from a classic round cake featuring her face to more elaborate 3D designs. Some bakers opt for a traditional flat cake with detailed fondant decorations, while others create a full sculpted cake that mirrors Hello Kitty in three dimensions. Incorporating vibrant colors, such as pinks and pastels, can bring the design to life and add an extra layer of fun to the cake.
Different Variations of Hello Kitty Cakes (Face Cake, 3D Cake, Cupcakes, etc.)
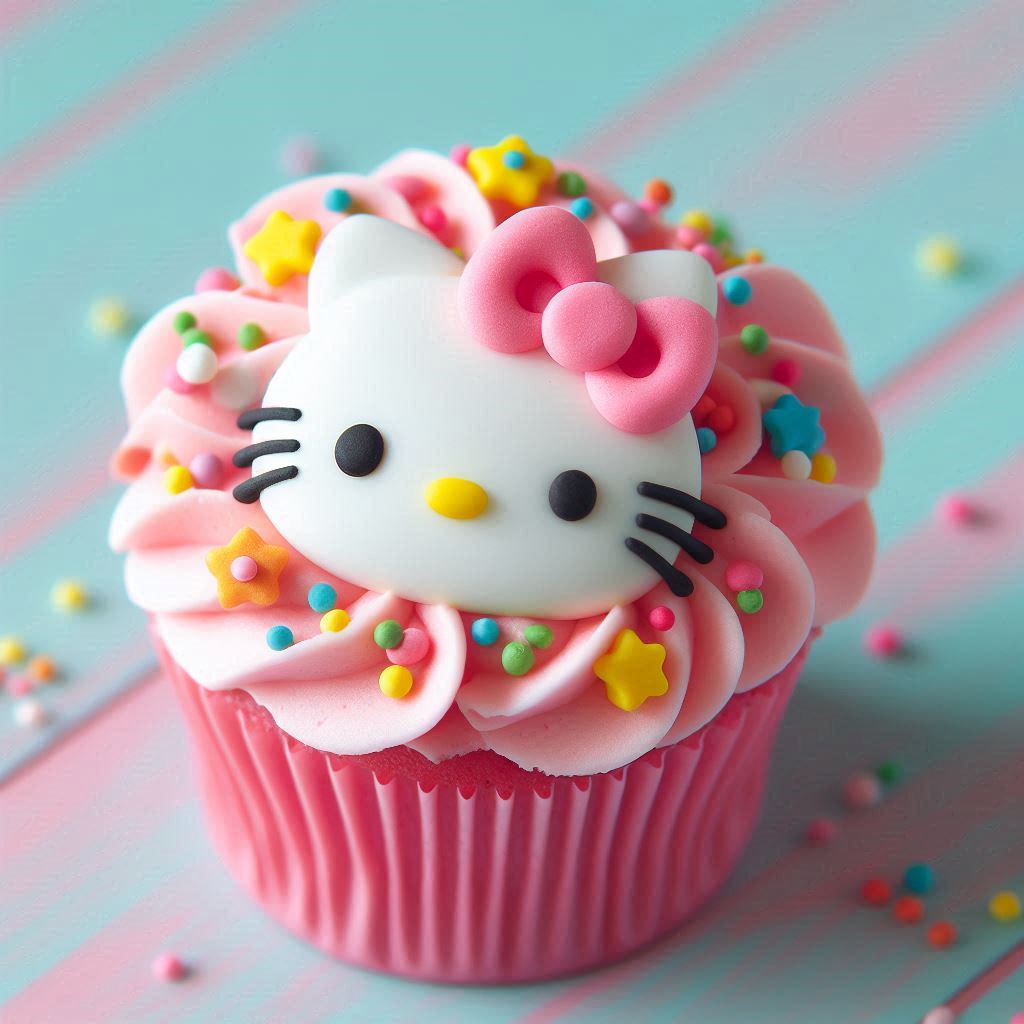
There are many variations of Hello Kitty cakes to choose from. The most common is the face cake, where her recognizable features are made using fondant or icing. For a more elaborate option, a 3D Hello Kitty cake can be sculpted to resemble the character in full. For a simpler approach, Hello Kitty cupcakes or cake pops can be decorated with her face, providing a more accessible yet still adorable choice for a themed party.
Choosing the Right Cake Type: Sponge, Butter Cake, or Chocolate Cake?

When making a Hello Kitty cake, the type of cake is just as important as the design. A light sponge cake is often preferred for its airy texture and ability to hold intricate decorations. A butter cake, rich and dense, is another popular choice, providing a sturdy base for fondant decorations. For chocolate lovers, a chocolate cake adds a rich flavor that contrasts well with the sweetness of the frosting, making it a versatile option for any Hello Kitty design.
Hello Kitty Cake Recipe
Ingredients
For the Cake:
- 2 1/2 cups all-purpose flour
- 2 1/2 teaspoons baking powder
- 1/2 teaspoon salt
- 1 cup unsalted butter, softened
- 1 1/2 cups granulated sugar
- 4 large eggs
- 1 tablespoon vanilla extract
- 1 cup whole milk (or buttermilk for a richer flavor)
For the Buttercream Frosting:
- 1 cup unsalted butter, softened
- 4 cups powdered sugar
- 2 teaspoons vanilla extract
- 2-3 tablespoons heavy cream (or milk)
- A pinch of salt
- Pink food coloring (for Hello Kitty’s bow)
- Black food coloring (for the eyes, nose, and whiskers)
For the Decorations:
- 1/2 cup fondant (white) for Hello Kitty’s face
- Red fondant for the bow
- Black edible marker (or black fondant for whiskers and eyes)
- Optional: Edible glitter or small sugar flowers for added decoration
Instructions
1. Prepare the Cake:
- Preheat the oven to 350°F (175°C). Grease and flour two 8-inch round cake pans.
- In a bowl, whisk together the flour, baking powder, and salt. Set aside.
- In a separate large bowl, cream the softened butter and sugar together until light and fluffy (about 4-5 minutes).
- Add the eggs one at a time, beating well after each addition. Stir in the vanilla extract.
- Gradually add the dry ingredients into the wet ingredients, alternating with the milk. Start and finish with the dry ingredients. Mix until just combined.
- Divide the batter evenly between the two cake pans. Smooth the tops with a spatula.
- Bake for 25-30 minutes, or until a toothpick inserted into the center comes out clean. Let the cakes cool in the pans for 10 minutes before transferring to a wire rack to cool completely.
2. Make the Buttercream Frosting:
- In a large bowl, beat the softened butter until smooth and creamy.
- Gradually add the powdered sugar, 1 cup at a time, and beat until smooth and fluffy.
- Add the vanilla extract and a pinch of salt. Continue beating until well combined.
- Add heavy cream (or milk) a tablespoon at a time until the frosting reaches your desired consistency.
- Divide the frosting into three parts: one for the base coat (white), one for the bow (pink), and one for the details (black for whiskers, eyes, and nose).
3. Assemble the Cake:
- If the cake layers have domed, use a serrated knife to level them.
- Place one layer of cake on a serving plate or cake board. Spread a thin layer of buttercream frosting on top as a crumb coat. Chill for 20 minutes to set the frosting.
- Apply a thicker layer of white buttercream frosting over the entire cake, smoothing it out with a spatula.
- Stack the second layer of cake on top and frost it with the white buttercream.
4. Decorate the Cake:
- Shape Hello Kitty’s Face: Roll out the white fondant into a smooth, round shape and place it on top of the cake to form Hello Kitty’s face.
- Create the Bow: Roll out red fondant into a bow shape, then place it on the top left side of Hello Kitty’s head.
- Add Facial Features: Use black fondant or an edible marker to create Hello Kitty’s eyes, nose, and whiskers.
- Optional Decoration: Add edible glitter or small sugar flowers around the cake for extra flair.
5. Final Touches:
- Once the cake is fully decorated, chill it for 30 minutes to set the decorations before serving.
- Slice and serve your adorable Hello Kitty cake at your special event!
Advanced Techniques (Optional)
Creating a 3D Hello Kitty Cake
- How to Stack Cakes for a 3D Effect: To create a 3D Hello Kitty cake, you’ll need to stack multiple layers of cake. Start with a sturdy base, like a butter cake or sponge cake. Bake multiple layers in round cake pans (8-inch or 6-inch sizes work well). Once the cakes have cooled, use a serrated knife to level each layer for even stacking. To ensure the cake holds its shape, use dowels or straws to provide support between layers. Stack the cakes, starting with the largest layer at the bottom. As you build, you can carve and shape the layers to create a more rounded form, like the contours of Hello Kitty’s face and head.
- Techniques for Sculpting Hello Kitty’s Face and Bow: After stacking the cakes, the next step is to sculpt the shape of Hello Kitty’s face. Use a serrated knife to carefully carve the cake into a rounded shape. You’ll want to create a smooth, slightly oval head with gentle curves for the cheeks. Once the cake is shaped, cover it with a thin layer of buttercream (crumb coat) and chill it to firm up. For the face, roll out white fondant and cover the entire sculpted cake, smoothing it to fit the contours of Hello Kitty’s face. For the bow, roll out red fondant, cut it into a bow shape, and attach it to the top-left side of the cake. Use edible glue or water to secure the fondant decorations in place.
- Adding Depth with Layered Fondant or Modeling Chocolate: For additional depth and dimension, you can layer fondant or modeling chocolate on top of the base layer. For example, you can roll out thinner sheets of red fondant and stack them to create the appearance of depth in Hello Kitty’s bow. Modeling chocolate is a great option for detailed features like the eyes and nose because it’s more flexible and easier to work with when sculpting smaller, delicate details. Use these techniques to create realistic 3D effects, ensuring that each layer and detail has a smooth, polished finish.

Also discover: How to Make Tacos El Cuñado: Recipe for Authentic Mexican Flavor
Airbrushing for Professional Effects
- How to Use an Airbrush to Create Shading and Depth: Airbrushing is a technique that can add beautiful shading and depth to your cake. After you’ve covered your 3D Hello Kitty cake with fondant, you can use an airbrush machine to apply edible food colors. Start by adding a subtle shadow around the edges of Hello Kitty’s face, under the bow, and along the contours of the cheeks and face. This will create a softer, more professional look. Hold the airbrush about 6-8 inches away from the cake to apply the color lightly. Gradually build up layers of shading to create depth, using a gentle hand to avoid oversaturating the cake.
- Achieving Smooth Transitions of Color: To create smooth transitions of color using an airbrush, work in light layers. Start with a lighter color and gradually darken it towards the edges. For instance, you can use a soft pink airbrush color around the cheeks and nose area to give Hello Kitty a natural flush. Then, use a darker pink or red around the edges of the bow for a more dimensional look. Airbrushing allows for smooth color transitions that are difficult to achieve with traditional frosting techniques, providing a more professional and polished appearance.
Other Themed Decorations and Customization
- Adding Hello Kitty’s Friends (Dear Daniel, My Melody, etc.): One way to make your Hello Kitty cake even more special is by incorporating her friends, such as Dear Daniel, My Melody, or other Sanrio characters. You can create small fondant figures of these characters and place them around the cake for a more elaborate design. Sculpting these characters can be done by rolling and shaping fondant, using edible markers to add details like eyes and mouths. This adds an extra layer of customization to the cake and makes it more appealing to Hello Kitty fans. For example, you can create small cake toppers of Dear Daniel holding hands with Hello Kitty or My Melody sitting next to her in the design.
- Adding Personal Messages or Names to the Cake: Personalizing your Hello Kitty cake with a message or the celebrant’s name is a great way to make the cake truly unique. You can use piping gel or royal icing to write a birthday message or the name of the birthday person on the cake’s surface. Another option is to create a banner or fondant plaque that says “Happy Birthday” or another personalized message. You can also use edible letter cutters to form the celebrant’s name from fondant and place it across the cake. This customization makes the cake feel more intimate and tailored to the occasion, and it adds a special touch that guests will appreciate.
These advanced techniques allow you to elevate your Hello Kitty cake from a basic design to a professional, customized creation that will impress your guests. Whether you’re sculpting a 3D version, airbrushing for smooth transitions, or adding personalized elements, these techniques ensure your Hello Kitty cake will be a memorable centerpiece for any celebration.
Certainly! Below is the Troubleshooting, Storage and Serving Suggestions, and Creative Ideas for Personalizing Your Hello Kitty Cake sections in clear, concise explanations.
Conclusion
Creating a Hello Kitty cake is a fun and creative way to celebrate any occasion. Whether you’re a beginner or an experienced baker, with the right techniques and a little imagination, you can craft a beautiful and delicious cake. From troubleshooting common issues to personalizing your design, every detail adds to the charm and excitement of the celebration. With these tips, you’re ready to create a memorable cake that will delight both kids and adults alike.
FAQs
1. Can I use buttercream instead of fondant for a Hello Kitty cake?
Yes, buttercream is a great alternative to fondant. It’s easier to work with and still creates a beautiful design.
2. How do I prevent my fondant from cracking?
Knead fondant well and cover it when not in use. If it’s too dry, add a bit of vegetable shortening to restore its flexibility.
3. Can I make Hello Kitty-themed cupcakes instead of a full cake?
Absolutely! Mini Hello Kitty cupcakes are a perfect alternative and can be decorated to match your party theme.
4. How can I transport a Hello Kitty cake without damage?
Use a sturdy cake box that fits the cake size and ensures it doesn’t shift. For multi-layered cakes, add dowels for extra support. In warm weather, consider using ice packs in a cooler to keep the cake cool.
5. What should I do if my cake decoration doesn’t turn out as planned?
If the decoration isn’t perfect, don’t worry! You can often fix small mistakes by gently removing or reapplying fondant or frosting. Smoothing tools and a little extra attention can help perfect the design.

